


4 Steps to Use Red Light Therapy Wand on Face
In the evolving landscape of advanced non-invasive skincare, learning the proper protocols to use red light Therapy Wand on face is essential for achieving optimal cellular rejuvenation. At Nicebeam, our engineering and dermatological research teams are dedicated to creating clinical-grade light therapy devices that seamlessly integrate into your daily routine. We understand that investing in high-quality aesthetic tools requires an equally high-quality understanding of how to operate them. From our experience, many users fail to see maximum benefits simply because they do not use red light Therapy Wand on face with the correct technique or consistency.

When you use red light Therapy Wand on face properly, you are stimulating the mitochondria within your skin cells, promoting adenosine triphosphate production, which in turn fuels collagen synthesis and reduces inflammation. To ensure you maximize these benefits, we have compiled this authoritative guide. We recommend reading through each protocol carefully. Whether you are targeting fine lines, attempting to soothe blemishes, or simply maintaining an even skin tone, mastering the method to use red light Therapy Wand on face will elevate your entire skincare regimen.
Table of Contents
Summary Table: Protocol Overview
Before diving into the detailed mechanics of how to use red light Therapy Wand on face, please review this summary table. It outlines the core steps and critical variables required for a successful treatment session.
| Step | Action | Duration / Technique | Clinical Objective |
|---|---|---|---|
| Step 1 | Skin Preparation & Power On | 1-2 Minutes | Remove barriers (makeup/oil) to allow optimal photon penetration when you use red light Therapy Wand on face. |
| Step 2 | Placement & Gliding | Continuous Motion | Ensure even distribution of light energy across all facial contours and target areas. |
| Step 3 | Relaxation & Treatment | 5-15 Minutes Total | Allow time for cellular absorption. Relax while the light works its therapeutic magic. |
| Step 4 | Post-Treatment Care | 1-2 Minutes | Apply serums or moisturizers. Remove the device when the session ends and power down safely. |
The Science: Why You Should Use Red Light Therapy Wand on Face
Before executing the steps, it is vital to understand the underlying mechanisms at play. When you use red light Therapy Wand on face, you are applying specific wavelengths of light, typically between 630 nanometers and 660 nanometers for red light, and up to 850 nanometers for near-infrared light. These specific wavelengths bypass the surface of the skin and penetrate into the dermis layer. From our experience, the physiological response is profound.
The mitochondria, known as the powerhouses of the cells, contain light-absorbing photoreceptors called cytochrome c oxidase. As you use red light Therapy Wand on face, these receptors absorb the photons, accelerating the production of ATP. This energy boost enables cells to repair themselves faster, construct new collagen and elastin fibers, and increase local blood circulation. We recommend regular sessions because this process is cumulative. If you want to see a visible reduction in hyperpigmentation, fine lines, or overall skin fatigue, you must use red light Therapy Wand on face with strict consistency.
4 Steps to Use Red Light Therapy Wand on Face
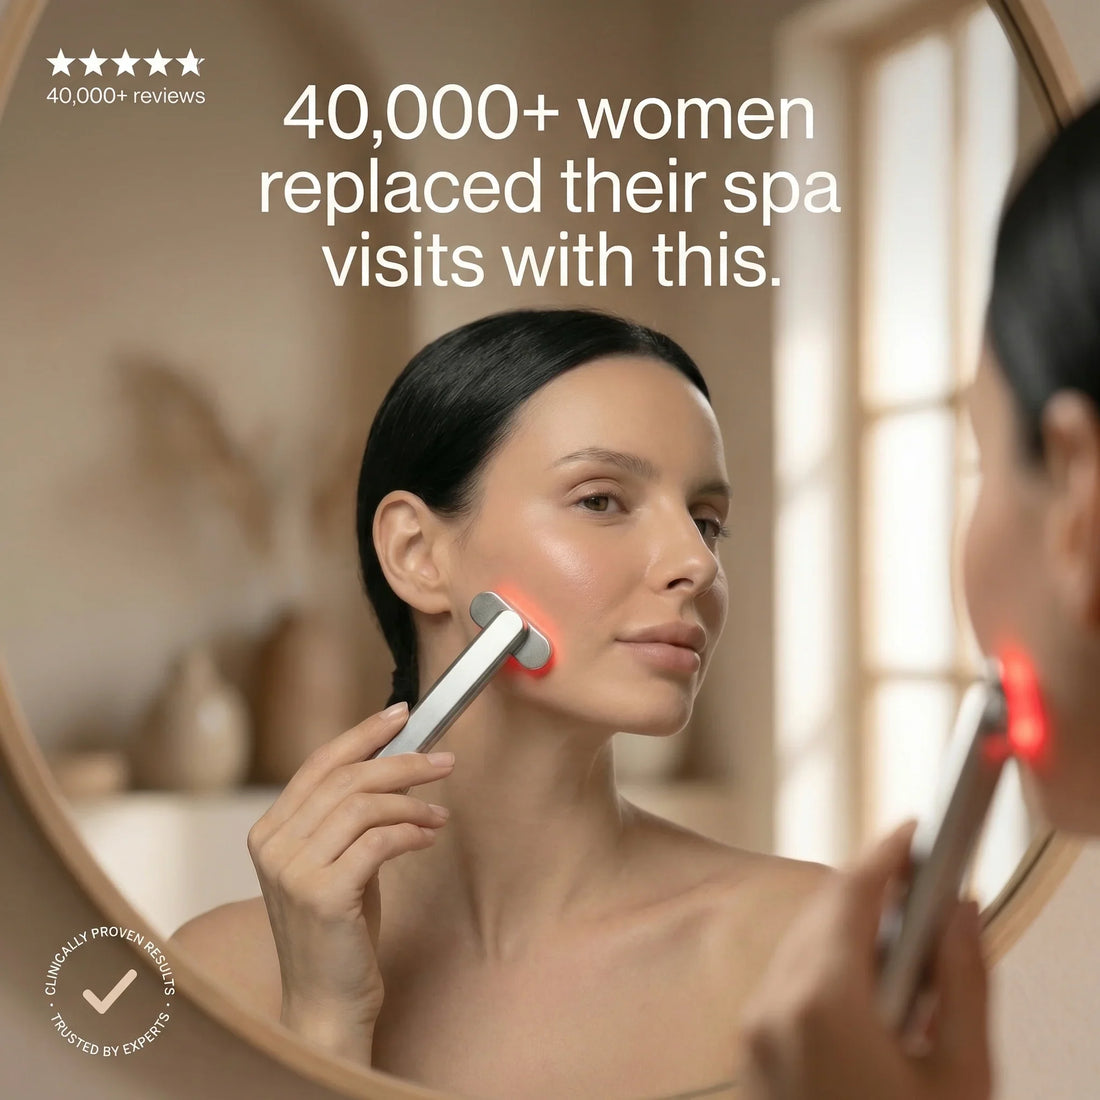
Our flagship device, the Nicebeam 4-in-1 Red Light Therapy Skincare Wand, is engineered for maximum efficacy and user convenience. To achieve clinical-level results in your own home, we recommend following these four precise steps every time you use red light Therapy Wand on face.
Step 1: Power On and Prepare Your Skin
The foundation of any successful photobiomodulation session is an unobstructed canvas. Before you even power on the controller, you must cleanse your skin thoroughly. Any trace of sunscreen, heavy foundation, or thick barrier creams can reflect or absorb the light wavelengths, preventing them from reaching your dermal layers. We recommend washing your face with a gentle, pH-balanced cleanser and patting it completely dry.
Once your skin is prepared, power on the device. For the Nicebeam 4-in-1 Red Light Therapy Skincare Wand, this usually involves a simple button press or utilizing the smart-touch activation feature. Ensuring the device is fully charged before you use red light Therapy Wand on face guarantees consistent power output, which is crucial for delivering the correct joules of energy to your skin cells.
Step 2: Place Comfortably and Glide
Proper physical contact is required. Place the wand comfortably on your face, ensuring the treatment head is flush against your skin. From our experience, the most effective technique to use red light Therapy Wand on face is to employ slow, upward, and outward sweeping motions. Start at the center of your chin and glide the wand along your jawline toward your ear. Move to your cheeks, sweeping from the nose outward to the hairline.
By moving the device slowly, you are allowing the targeted tissue adequate time to absorb the light energy. If the device features a microcurrent or warming function, like our Nicebeam 4-in-1 Red Light Therapy Skincare Wand, this gliding motion also promotes lymphatic drainage and reduces facial puffiness. Never drag or pull harshly at the skin; the motion should be a gentle, comfortable glide.
Step 3: Relax While the Light Works
Patience is a necessary component of energy medicine. As you continue to use red light Therapy Wand on face, it is important to relax your facial muscles. Tension in the jaw or forehead can restrict microcirculation, slightly inhibiting the full benefits of the therapy. Relax for the duration of the treatment, which typically lasts between 5 to 15 minutes depending on your specific protocol and skin tolerance.
While you use red light Therapy Wand on face, you will likely feel a soothing, gentle warmth. This is the near-infrared energy stimulating blood flow. We recommend dividing your face into sections (forehead, left cheek, right cheek, neck) and dedicating a few minutes to each section while you relax and let the light work its therapeutic effects.
Step 4: Remove When the Session Ends
Once you have completed your passes over all targeted areas, it is time to conclude the session. Remove the wand when the session ends. Power off the device and wipe the treatment head with a clean, dry, or slightly damp microfiber cloth to maintain hygiene. Do not use harsh chemicals on the wand's surface.
The immediate post-treatment window is the ideal time to apply your active skincare ingredients. Because the red light therapy increases blood circulation and cellular permeability, your skin is highly receptive. If you are using hyaluronic acid, peptides, or vitamin C serums, apply them now. When you use red light Therapy Wand on face prior to your topical serums, you effectively amplify the absorption and efficacy of those products.
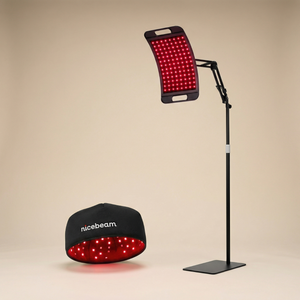
The Nicebeam Ecosystem: Wand and Hat Protocols
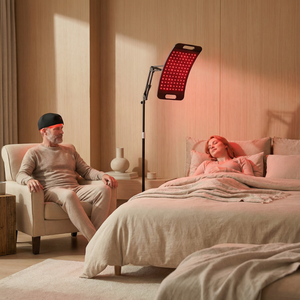
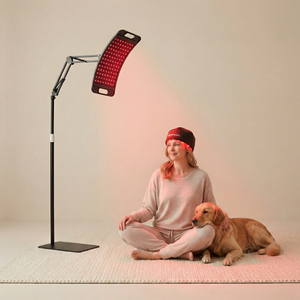
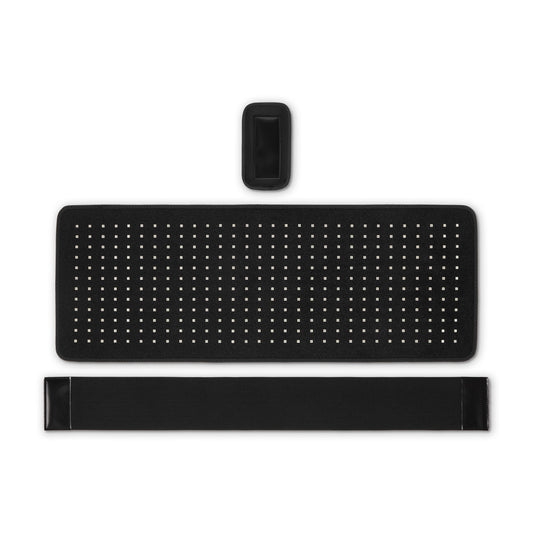
At Nicebeam, our commitment to cellular health extends beyond facial care. Just as we have engineered the Nicebeam 4-in-1 Red Light Therapy Skincare Wand for your complexion, we have developed solutions for scalp and hair vitality. Designed for effortless daily use, the Nicebeam Red Light Therapy Hat delivers therapeutic red and near-infrared light in a soft, wearable cap.
The protocols for our hat are remarkably similar to the logic used when you use red light Therapy Wand on face. Just wear it for 20 minutes per day, relax, and let the light support thicker, fuller hair without expensive clinics or greasy serums. Most users notice visible improvement in 8 to 12 weeks with less shedding, more density, and peace of mind.
How to use the Nicebeam Red Light Therapy Hat:
- Step 1: Power on the controller.
- Step 2: Place the hat comfortably on your head.
- Step 3: Relax for 20 minutes while the light works.
- Step 4: Remove the hat when the session ends.
Use once daily for best results. Furthermore, if you are using with hair products such as Minoxidil, serums, or oils, we provide strict guidelines. Use the hat on a clean, dry scalp. If using Minoxidil or hair serums, apply them after your light session. Consistent daily use helps support healthier, fuller-looking hair over time. Just as you apply face serums after you use red light Therapy Wand on face, applying hair topicals after the hat ensures maximum follicular absorption.
Frequently Asked Questions
How often should I use red light Therapy Wand on face?
From our experience, consistency is key. We recommend that you use red light Therapy Wand on face 3 to 5 times per week. Each session should last approximately 5 to 15 minutes. Once you achieve your desired results, you can transition to a maintenance routine of 2 to 3 times per week.
Can I use red light Therapy Wand on face if I have sensitive skin?
Yes. Red light therapy is non-invasive and does not cause micro-injuries to the skin like lasers or microneedling. However, if you have highly reactive skin or conditions like extreme rosacea, we recommend starting with shorter sessions (3 to 5 minutes) to see how your skin responds before increasing the duration.
Should I use red light Therapy Wand on face before or after applying my skincare products?
Always use red light Therapy Wand on face on clean, dry skin. Applying serums or heavy creams beforehand can create a barrier that blocks the light wavelengths. Apply your active serums and moisturizers immediately after your session to take advantage of the increased blood flow and cellular receptivity.
Are the results permanent?
Cellular aging is an ongoing biological process. While the collagen production and skin tightening you achieve when you use red light Therapy Wand on face are long-lasting, they are not strictly permanent. Maintenance sessions are highly recommended to sustain cellular energy and keep the visible signs of aging at bay.
References
To ensure our clients understand the clinical foundations of our Nicebeam products and why we recommend you use red light Therapy Wand on face, we rely on established dermatological science. Please consult the following authoritative sources for further reading on photobiomodulation: